Skyscraper

Saturday, March 23, 2013

Fig Pistachio Frangipane Tart - Super Delicious Recipe

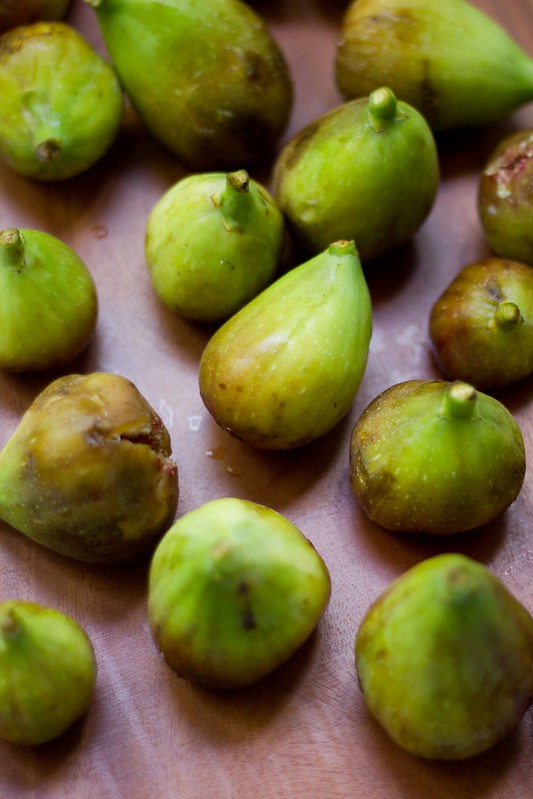
I have a fig obsession, and it's led me down some wonderful paths. I used to have a fig tree in the backyard as a kid but never really appreciated it. Now that I've grown up and my tastebuds have changed, I'm totally in love with figs. I usually buy dried ones as it's so hard to get fresh figs. So when figs are in season, I eat heaps of them and try them in everything.

I've been baking a lot with figs lately, all because of a Grosvenor Hotel fig tart photo. This photo just drew me in and had me salivating. Unfortunately, when I went, they had sold out of the tarts. So, if you can't go to the fig tart, you bring the fig tart to you. The stars were aligned when my Aunty brought over a small bag of fresh figs from her tree, which I duly made into a tart. Then, she brought over an even bigger bag of figs. I had hit the fig jackpot. So, I made a tart again, but inspiration struck and I improved it even more.

I have not made a tart in a long long time. I used to remember the results were not so good and it was so hard to make. However, my baking skills have improved and I found this fig tart to be so easy to make and the results are mind blowingly good. So good in fact that the tart is gone way too fast, but that's another issue I'll have to deal with when I buy some new stretchy elastic pants.

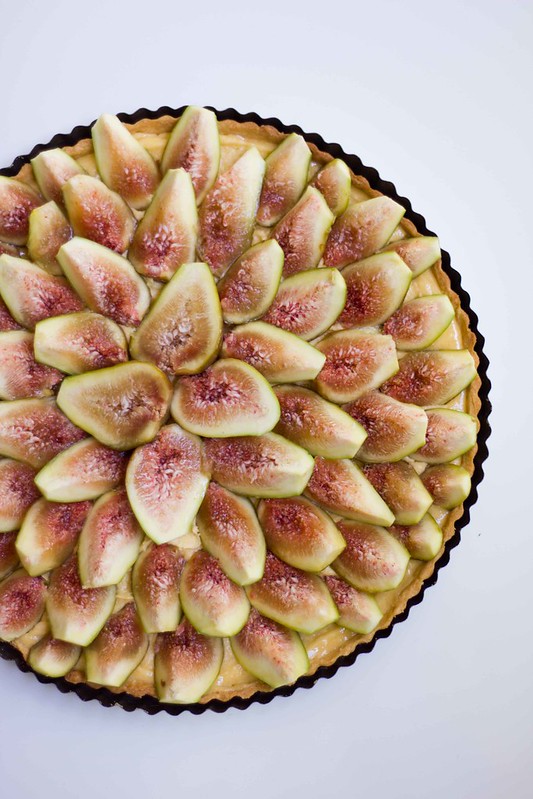
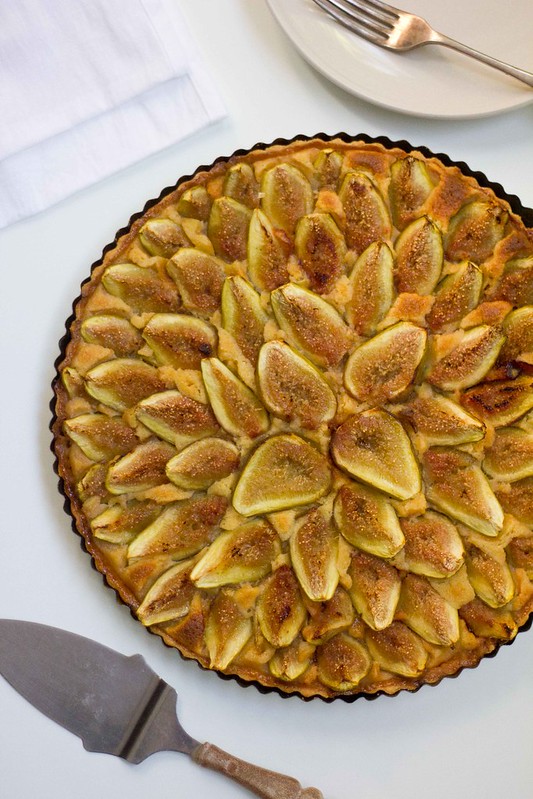
Here is the final Fig Pistachio Frangipane Tart that I came up with. It's a mix and match of a few recipes and some adaptations. The flavour profile is just stunning. The pistachio is a strong hit in the frangipane mixture and pair perfectly with the caramelised figs. The soft texture of the frangipane contrast well with the super crumbly buttery shortcrust pastry and the slightly chewy figs. I don't want to sound like a egotist but I rate this fig tart ten out of ten.
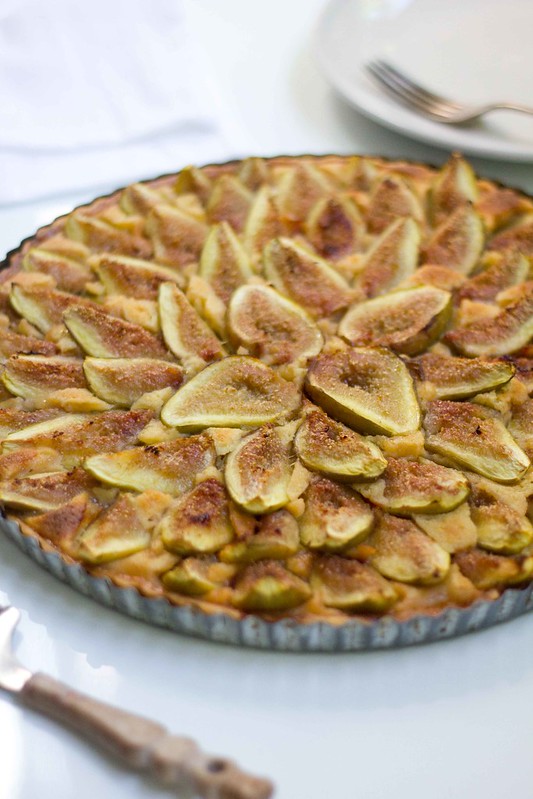
This recipe makes a massive 32cm tin tart, but trust me, it will disappear fast. You can always make a smaller tin and some mini tarts. Look how beautiful the tart looks with the geometric pattern that I designed.
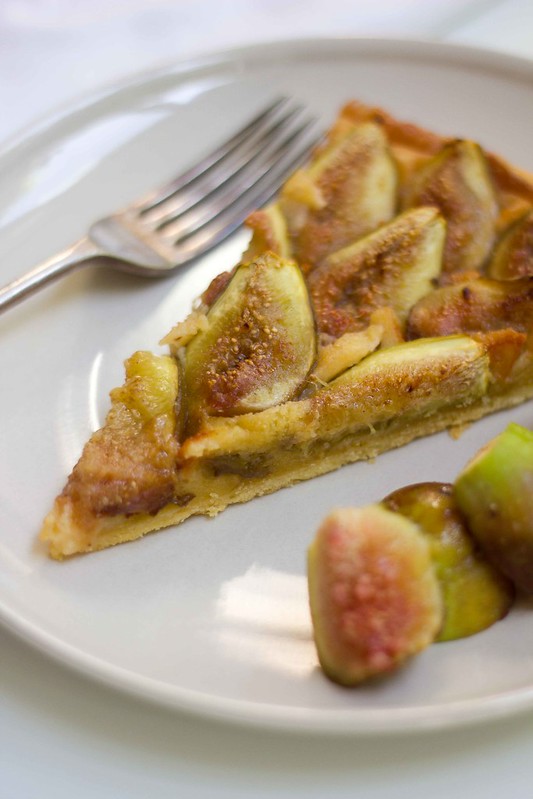
I also made a traditional almond frangipane version of this tart and it too is sensational. The smell of the almond is more subdued and the figs come through more in this one, but I personally think the pistachio version is the best as I love pistachios.
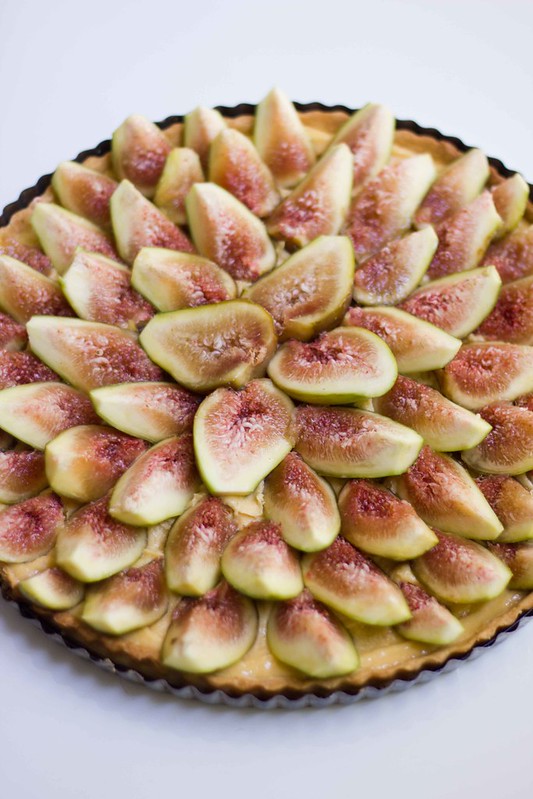
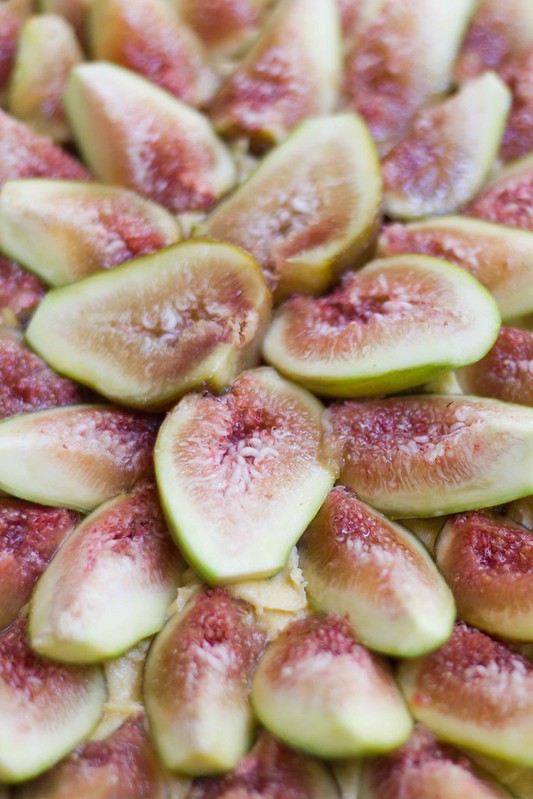
As usual, some tips to help you make the best fig tart possible.

*With pastry, the butter and water must be cold to get the best results. Once the dough comes slightly together in the food processor, stop it and take it out. Don't roll it or anything as overworking it makes it a little bit less crumbly as I found out on my first attempt.

*The figs you use really need to be ripe for this tart to work best. The figs are not completely dried out in the baking and you can still taste the freshness and ripe sweetness.

*I ground up some natural pistachio in a coffee grinder so the meal was very smooth. If you don't have a coffee grinder, you can use a food processor but the results won't be as good and the final frangipane won't be as smooth.

*I don't bother waiting for the pastry shell to cool before putting my frangipane and figs on. I didn't encounter any problems.

*I cover my pastry with foil rather than silicone paper as I can wrap it around the sides when I'm blind baking so the tart does not go too brown.

Fig Pistachio Frangipane Tart

Shortcrust Pastry
Recipe from Belinda Jeffrey

INGREDIENTS
1 1/2 cups (225g) plain flour
1/4 teaspoon salt
125g cold unsalted butter, cut into small chunks
1/4 cup (60ml) iced water

METHOD
1. Put the flour and salt into a food processor, and whiz them together.
2. Add the butter and whiz everything again until the mixture resembles medium-fine breadcrumbs.
3. With the processor running, pour in the iced water and process only until the dough forms a ball around the blade.
4. Tip the dough out onto a board and shape it into a ball.
5. Flatten it into a disc and wrap it tightly in cling film.
6. Chill the disc for about 20-30 minutes or until the pastry is firm, but supple enough to roll.
7. Roll out the pastry on a floured benchtop until large enough to fill out a tart tin. I used a 32cm tin and so the pastry was about 1mm thick, very fine.
8. Place the pastry into the tart tin by wrapping the pastry around the rolling pin and then unrolling it into tin. Trim and neaten the edges of the pastry around the tin.
9. Place tin back into fridge to cool for 20 minutes and preheat oven to 200C.
10. Take tin out of the fridge and cover the pastry with foil.
11. Blind bake the pastry using rice, beans or any other weights for 25 minutes.

Pistachio Frangipane
Recipe adapted from The Hungry Excavator

You can make this frangipane mixture while the pastry is blind baking in the oven. It doesn't take long to make this.

125g butter (softened)
1/2 cup caster sugar
1 egg yolk
1 egg
1 1/2 tsp vanilla extract
3/4 cup pistachio meal (almond meal can be substituted as well)
1/2 cup plain flour

METHOD
1. Beat butter and sugar until light and fluffy
2. Add the egg yolk, egg and vanilla extract and beat until well combined
3. Add the flour and pistachio meal and beat until well combined

Tart Assembly

INGREDIENTS
1 blind baked tart shell
1 portion of the pistachio frangipane
20 or so fresh figs cut up to cover a 32cm tin

METHOD
1. Take pastry out of the oven, remove foil and weights. Turn oven down to 180C.
2. Spread frangipane mixture evenly onto tart shell.
3. Arrange cut up figs onto frangipane mixture in a nice pattern of your choice.
4. Bake tart for 35 minutes or until the frangipane looks set.
5. Cool in the tin and then take out.


Sunday, March 17, 2013

A Delicious Italian Affair - Pizzas at Hotel Grosvenor and Pastas at Etto

GROSVENOR HOTEL

The battle was on. I was ready. Armed with my secret ingredients and a whole lotta trash talk, I was ready to win. What am I talking about? The Great Pizza Comp at Grosvenor Hotel of 2013 of course. I, along with a number of other bloggers, was invited to Grosvenor Hotel by Tink PR to invent a pizza. The best 3 of the night would go on the menu and be voted on by the public. The winning pizza would be put onto the restaurant menu for a month, with the victor allowed to eat their pizza endlessly for free for the whole month. You can read about the whole competition in detail at Michele's blog. It was such a fun night and I had the best time. It was amazing how inventive everyone was with their pizzas. Lots of amazing flavours there. Of course we had some help along with way with the bases from head chef Emile and my new friend Stefano, pizza mestro. We may have also had a "Ghost" moment. Think Patrick Swayze and Demi Moore, and replace the clay with a pizza base.

After all the delicious eating, we all voted on which pizzas we liked best. Let's just say that while my "The Karaage Kid" pizza was awesome, Michele's Banhmigeddon pizza was even more awesome. I'll admit defeat when it hits me deliciously in the stomach. Below is my "The Karaage Kid" pizza, with Japanese chicken karaage, grilled capsicum, rocket, roasted sesame sauce on a tomato base. It worked really nicely and I would definitely make this again at home.

As we loved the pizzas so much, Michele, Cherrie, James, I-Hua, Aaron and I went back to Grosvenor Hotel to eat the now famous Banhimgeddon. Below is the said pizza. Look at how glorious the marinated chicken, pickled chili, pickled carrot, coriander, mayo and sriracha pizza looks. It seriously tastes amazing, just like a banh mi in pizza form.

Besides the Banhmigeddon, we also tried the mushroom pizza and sausage pizza. The bases are beautifully thin and crispy and the toppings very good, albeit a tiny bit inferior to the amazing banhmigeddon. I might be a bit biased as the banhmi pizza was my idea, which Michele executed perfectly.

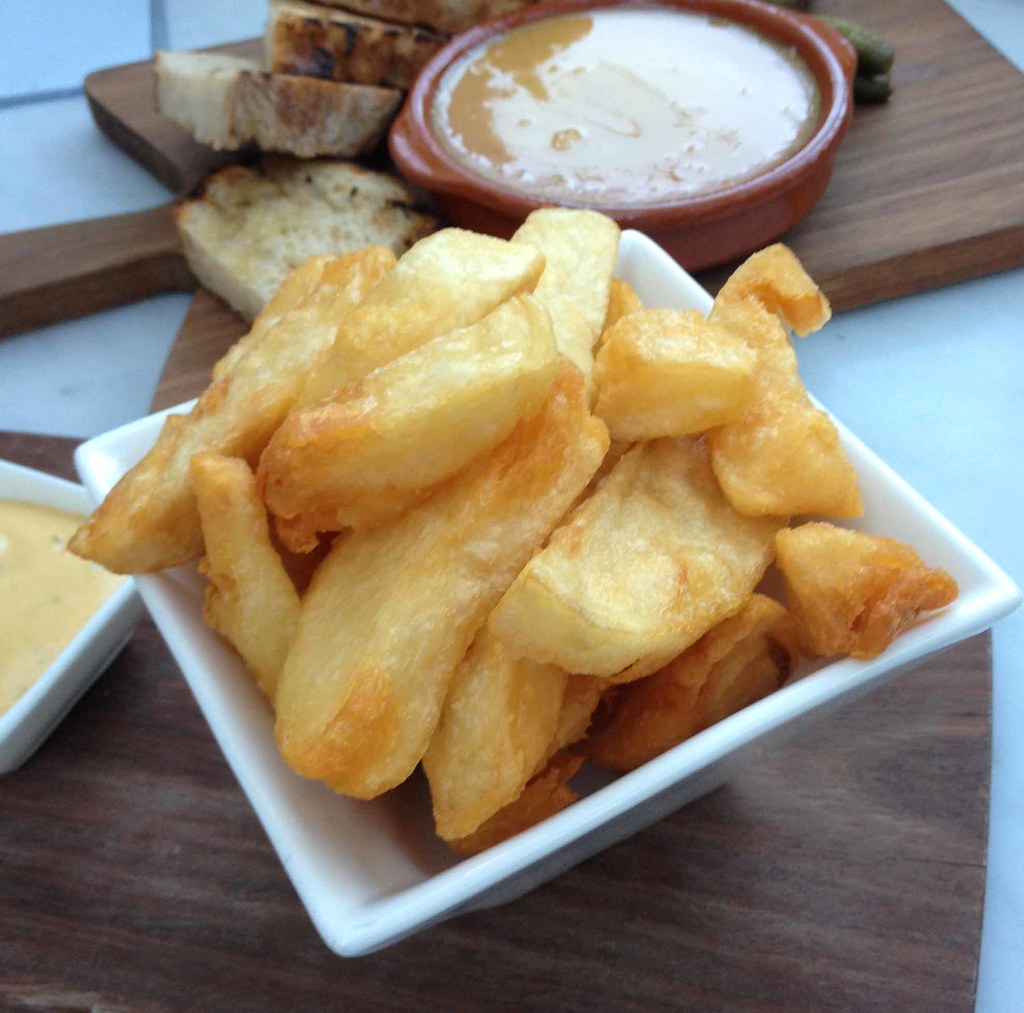
To accompany the pizzas, we had the chips. Let me put it out there right now, these are Melbourne's best chips. Triple cooked chips over 72 hours in the style done by my food hero Heston, these chips are super crispy on the outside while maintaining the most delightful soft interior, and a wonderful flavour. Emile tells me he's constantly trying out different potatoes and thinks he's found an even better one, so I can't wait to try them. I've been on a chip hunt for a year now and if you think there's a better chip in Melbourne, please please let me know as I'd love to try it.

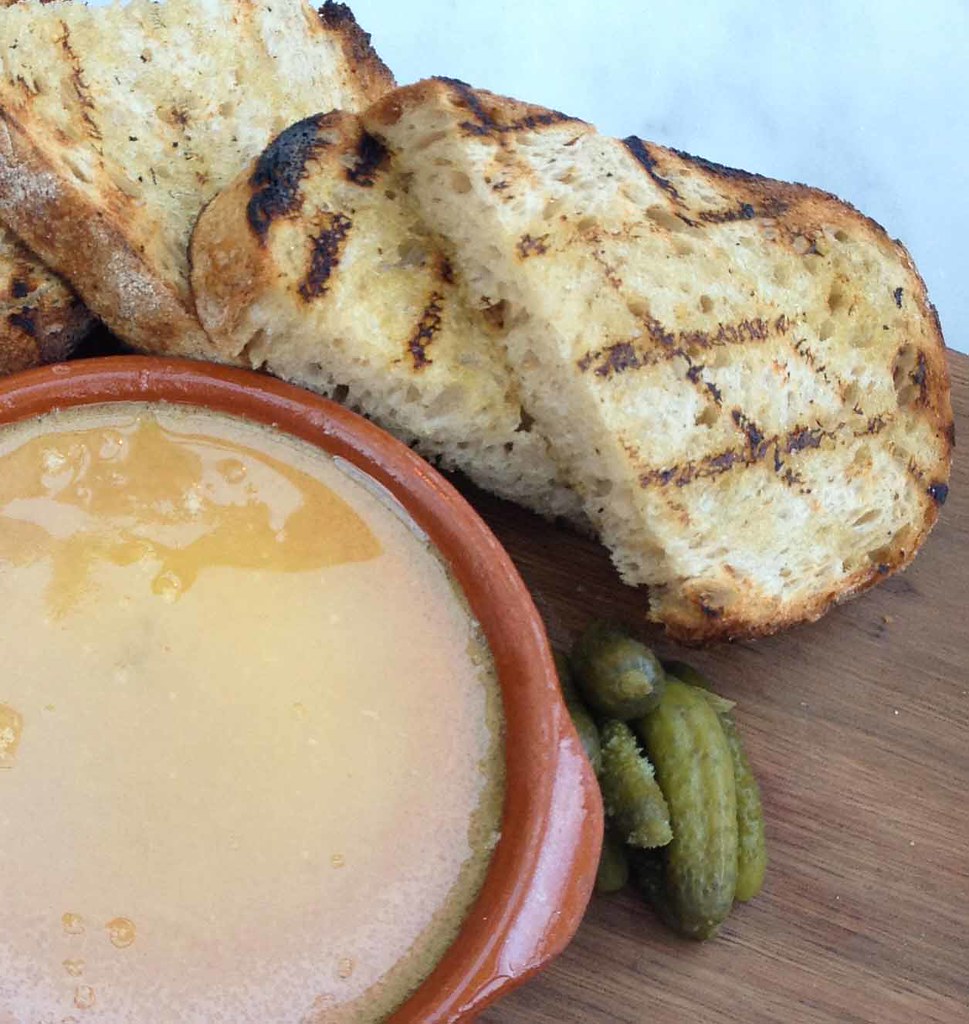
The last item we ordered was the chicken liver parfait. This parfait is my favourite I've tried anywhere. Emile says it's Marco Pierre White's recipe and it's stunning. I can't help comparing all chicken liver parfait to this one now. In the last month I've had chicken liver parfait at 3 other places and they all pale in comparison so badly. Even Cherrie's kids loved this parfait, which was a real shock. A tip, the parfait spread on the crust of the pizzas or eaten with the chips is unbelievable.

While Grosvenor Hotel does amazing pizzas, they also serve many other dinner menu items, such as a suckling pig. Uh huh. I can't wait to go back and try that as well.

Grosvenor Hotel on Urbanspoon

ETTO

Etto is a new pasta restaurant that has opened up in South Melbourne. Their self proclaimed vision statement is

"Etto’s all about fresh Italian street food – fresh pasta and seriously delicious sauces cooked to order in minutes with love & passion."

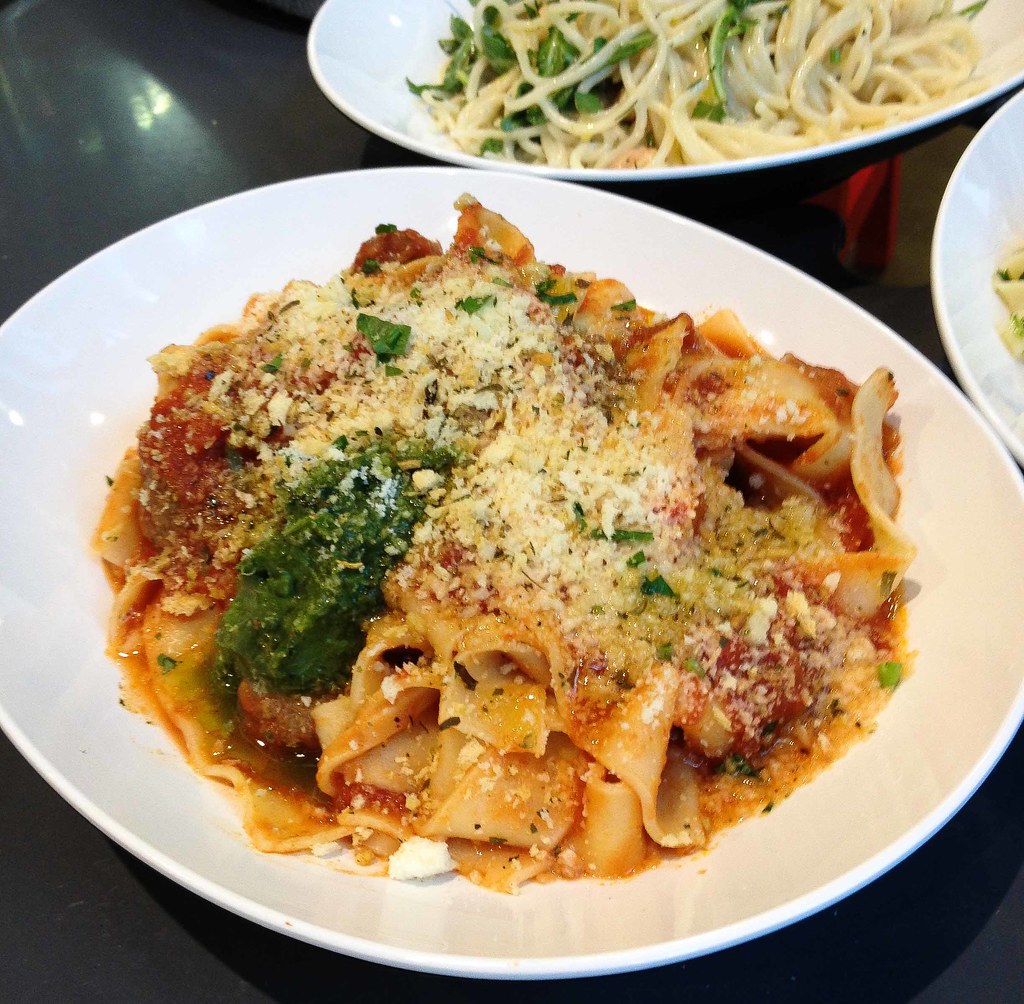
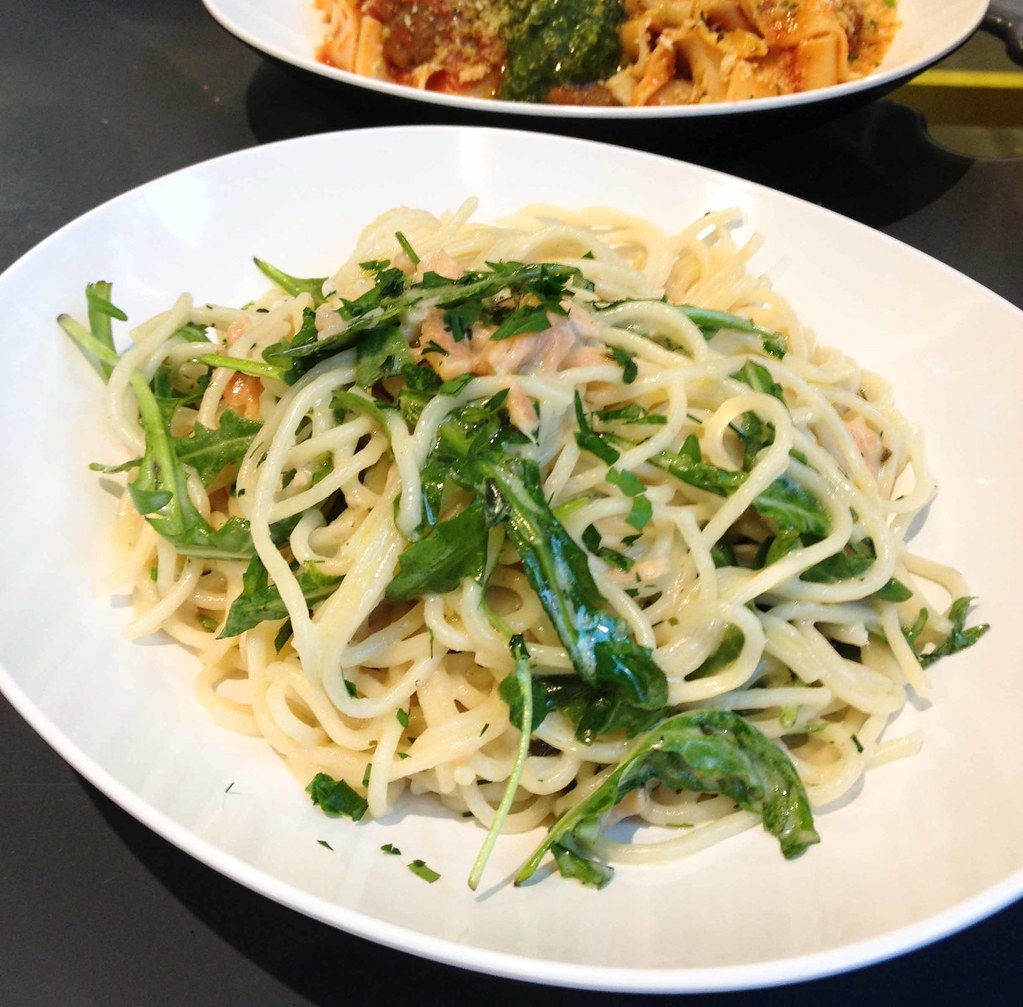
Their restaurant is a bit like Grill'd, simple items made freshly and tasting great. The store even has that Grill'd feel with a mix of fun and lots of mix and match options. After much thought, as everything looked so tempting, I decided on the Wagyu Meatballs with Papardelle, Salami with truffle oil linguini and Smoked salmon and capers spaghetti.

All the pastas were really nice. Everything is freshly made on the day and the pasta is either made on site or from a kitchen nearby and the sauces are made on site. Pastas are cooked to order and then the sauces are added. I really loved the wagyu meatballs with a pesto type sauce. The meatballs were covered in a rich sauce and my standout pasta was without doubt the papardelle. I'd be happy to eat that at any hatted restaurant. Perfectly smooth pasta cooked perfectly. The salami linguini was also very good. I really liked the spicy salami and again, the pasta was really good. I liked the fact that even the parmesan tastes good and not the fake stuff. The smoked salmon was pretty good, but it wasn't the usual smoked salmon I was expecting. Instead it's more like a lightly smoked salmon. It went well with the capers and rocket.

I was surprisingly impressed with everything as I was thinking that the fast food style place would produce rather generic tasting pasta. Instead, everything tasted really homely and I would go back for more. With dishes around the $11 mark, it would make for a great lunch or dinner. You can eat in, although there is limited seating, or take the food away to eat.

Etto is a simple nice concept which I can see working in the same manner as Grill'd. You can serve one type of food, but if you do it well, people will come back I think.

I dined courtesy of Etto.

Etto - Italian Street Pasta on Urbanspoon

Saturday, March 02, 2013

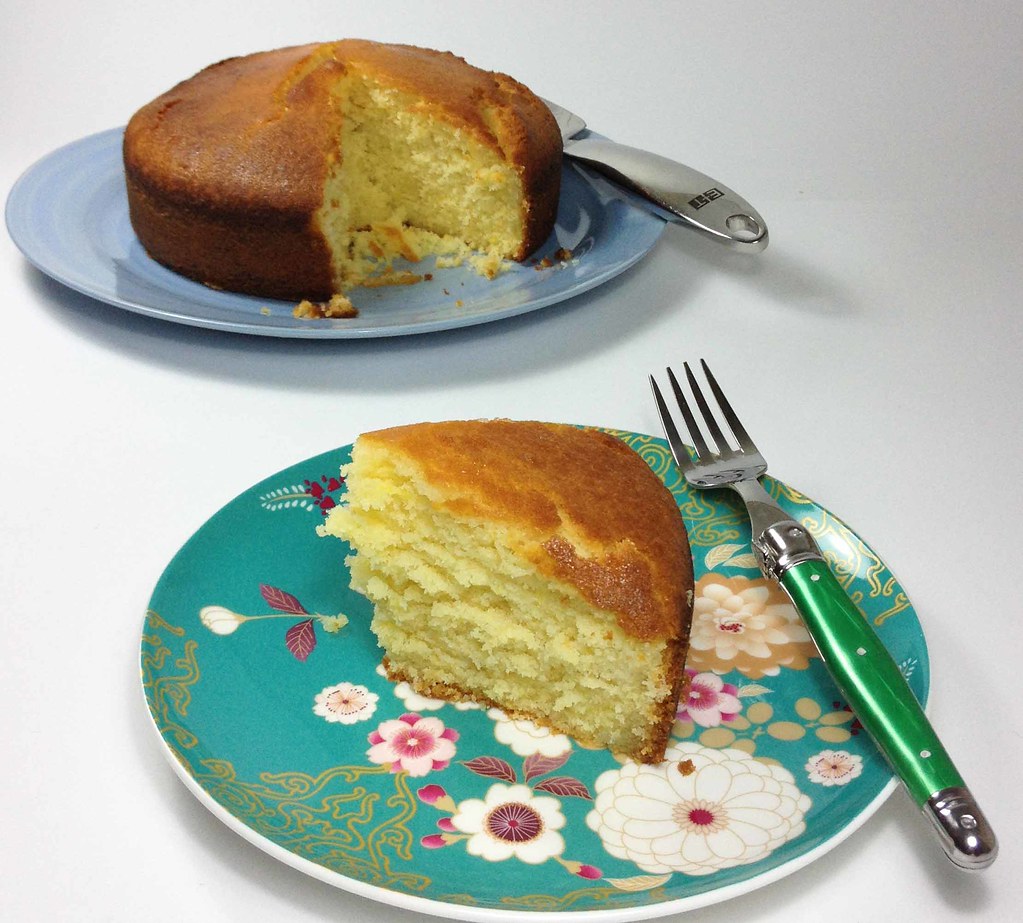
Lemon Buttermilk Syrup Cake - Stunning Simple Cake

Sometimes the simple things really are the best. I'm not a big fan of any type of lemon desserts generally. My favourite type of lemon desserts would be a lemon meringue or a lemon syrup cake, as both things have a sweet element that counters the sour lemon. Recently, my work mate Mike brought to work a small piece of lemon syrup cake and let me try it. Instantly I was swooning. This cake was so good and I just had to get the recipe. After many inquiries, he got me the recipe, which I looked over and saw how simple it was. I was wondering where the magic ingredient was to make this cake so wonderful, but nothing really popped out at me.

So now that I've made the cake, I would say that the magic is in the buttermilk and the way the eggs are combined separately. From my cake knowledge, I think the use of buttermilk and folding in the egg whites separately gives this cake a really soft crumb that I don't find in many cakes. And in cakes that do have this beautiful soft crumb, there's usually a mountain of cream or sour cream. Hence, this recipe is a keeper and I'll be making variants of it. It's a perfect simple butter cake recipe with a great texture and the most amazing flavour. I found the syrup was just the right sweetness and made the cake even softer and so moreish. It's really easy to make and the original recipe says it takes 15-30 minutes, but unless you have a group of junior chefs to help you prepare everything, it takes more like 60 minutes to prepare.

As usual, here are some tips to help you make the best cake possible
*I used really good French butter in this cake and I personally believe it really made a difference. I could taste the wonderful butter flavour in this cake. I think good butter really makes a difference in simple cakes like this.

*I followed the lemon rind amount in this recipe but I think you can use even more to make the lemon flavour even more prominent. The rind gives a different flavour to the juice of the lemon and I would have liked even more of it.

*I always use large eggs in my recipes, 800g or more.

*I never sift flour anymore nowadays and it doesn't seem to affect my cakes, even delicate ones so I suggest you don't waste your time. The packets of flour say they're sifted already anyway.

*If you only make one cake, you'll have leftover buttermilk, which you can portion out into smaller amounts and freeze. If you make two cakes like me, just use the whole 600ml rather than leaving 100ml. It doesn't seem to make a difference.

*I've tasted an orange version of this cake and it's even more wonderful. So explore with different flavours. Also a lemon icing or just a plain icing works really well with this cake.

Lemon Buttermilk Cake
Recipe adapted from Bestrecipes.com.au
Preparation time about 60 mins
Makes a 20cm cake

INGREDIENTS
250g butter, softened
1 tbsp grated lemon rind
1 cup caster sugar
3 eggs, separated
2 cups self-raising flour
1 cup buttermilk

Lemon Syrup
1/3 cup lemon juice
3/4 cup sugar
1/4 cup water

METHOD
1. Preheat oven at 180C.
2. Grease and lightly flour a 20cm tin.
3. Cream butter, lemon rind and sugar.
4. Beat in egg yolks one at a time until combined.
5. Stir in half the sifted flour and half the buttermilk. Mix until combined.
6. Add the remaining flour and buttermilk and combine.
7. Beat egg whites to a soft peak and fold gently into the mixture.
8. Bake cake at an hour.
9. When cake is nearly ready, make lemon syrup by combining all ingredients in a saucepan over medium heat until the sugar melts.
10. Pour the hot lemon syrup over the hot cake still in the tin. Let cake in tin before turning out onto a rack.